Note: With the PP vIDK, a version of this page is generated for you (upon request) when you compile the installation
To create a Self-Extracting EXE, I recommend InstallShield's free PackageForTheWeb. As of this writing, the latest version is 4.0. A copy can be downloaded from InstallShield.com (this will open a new window). Here's a step-by-step guide (using pictures):
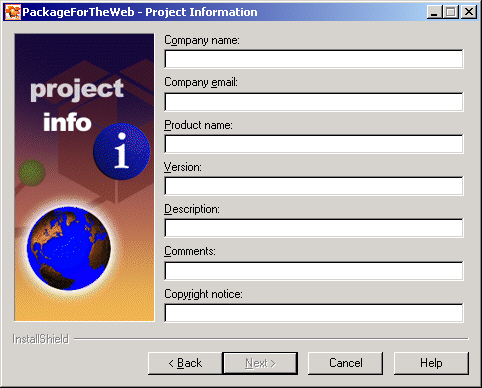
Click next until you get to the project type screen. Choose New project. Click Next. You'll then get this:
You can use anything on this screen. It really isn't shown to the casual end-user, except for the Product Version. That'll show up on the title bar of the PFTW Extracting .EXE
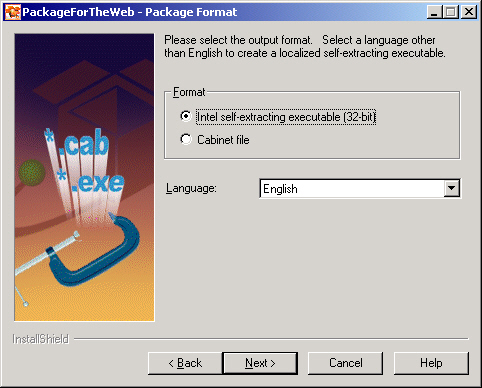
You must choose "Intel self-extracting executable (32 bit)."
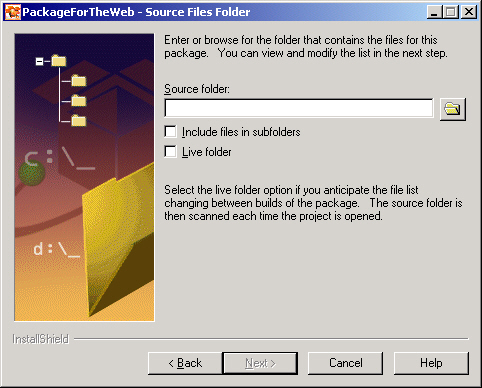
In the case of the example, this would point to the RSMod folder. I recommend that Live folder is checked (above, it's in the unchecked state)
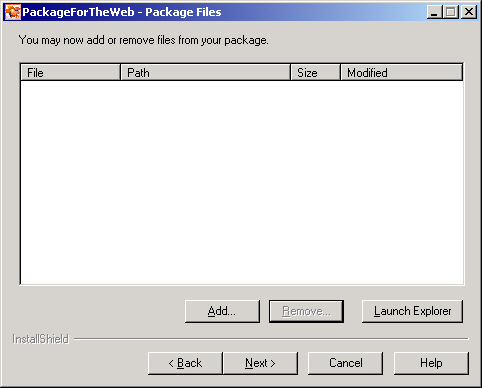
This screen will include your files.
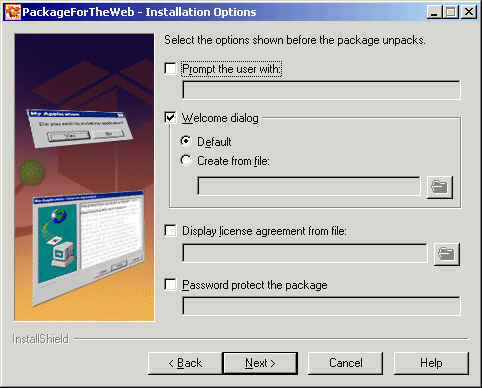
This screen shows the installation options. Do what you want here. AR Installer uses a Custom Welcome Dialog (View .RTF file used to create it -- opens a new window?)
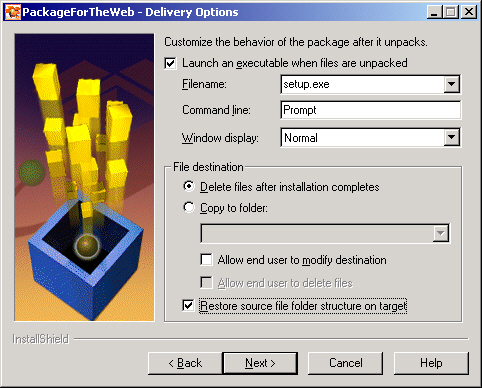
This screen must always be as-is. The only exception is if on the previous screen's "Prompt the user with" is used. If it is, remove the 'Prompt' command line switch.
On the next screen, please sign your package (if you can). On the screen after that, set the installation .EXE file name, and the Output folder.
Finally, upload the .EXE, and make sure that the users know to install the Visual Basic Runtime. The AR Installer Runtime includes all needed files.